Audi Q5: Digital compass
Activating or deactivating the compass
Applies to vehicles: with digital compass
The direction is displayed on the interior rear view mirror.
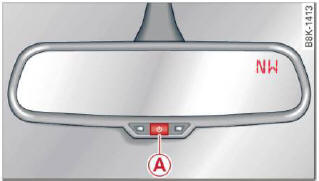
Fig. 62 Inside rear view mirror: digital compass activated
- To activate or deactivate, hold the (A) button down until the red display appears or disappears.
The digital compass only works with the ignition turned on. The directions are displayed as initials: N (North), NE (Northeast), E (East), SE (Southeast), S (South), SW (Southwest), W (West), NW (Northwest).
Tips
To avoid inaccurate directions, do not allow any remote controls, electrical systems, or metal parts close to the mirror.
Setting the magnetic deflection zone
Applies to vehicles: with digital compass
The correct magnetic deflection zone must be set in order to display the directions correctly.
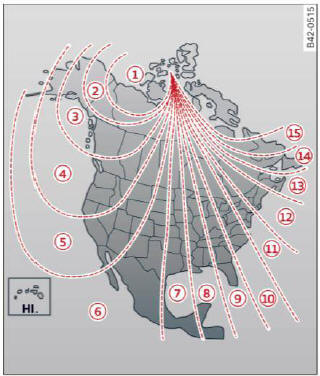
Fig. 63 North America: magnetic deflection zone boundaries
- Hold the (A) > fig. 62 button down until the number of the set magnetic deflection zone appears on the interior rear view mirror.
- Adjust the magnetic deflection zone by repeatedly pressing on the (A) button. The set mode automatically deactivates after a few seconds.
Calibrating the compass
Applies to vehicles: with digital compass
The compass has to be recalibrated if the display is wrong or inaccurate.
- Hold the A button down until the letter C is displayed on the interior rear view mirror.
- Drive in a circle at a speed of about 6 mph (10 km/h) until a direction is shown on the interior rear view mirror.
WARNING
The digital compass is to be used as a directional aid only. Even though you may want to look at it while you are driving, you must still pay attention to traffic, road and weather conditions as well as other possible hazards.

