Audi Q5: Water Drain Hoses
Water Drain Hoses, Cleaning
Special tools and workshop equipment required
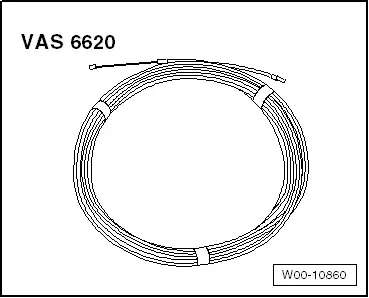
- Drain Snake -VAS6620-
 Note
Note
Use Drain Snake -VAS6620- to clean the water drain hoses.
- The front water drain hoses run along the "A-pillar" and end between the door and the "A-pillar". Start cleaning from the sunroof opening.
- The rear water drain hoses -2- run through the D-pillars and end in the rear wheel housings.
- Start cleaning the hose from the bottom end.
- It is necessary to move the rear wheel housing liner to the side.
- The water drain hoses can be cleaned form the top once the glass panel is removed.
Water Drain Hoses, Removing and Installing
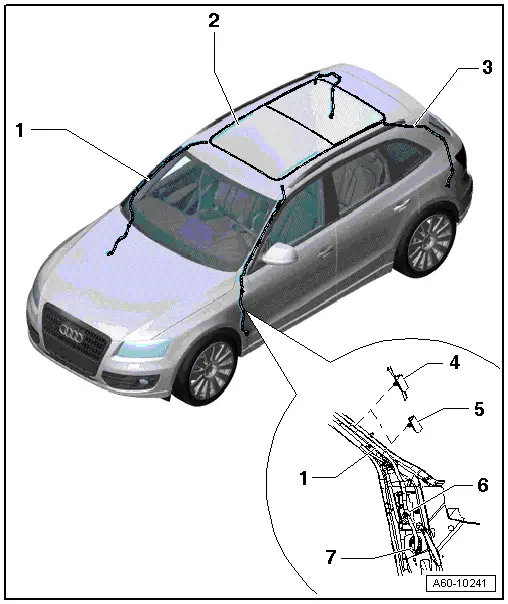
1 - Front Water Drain Hoses
- Removing
- The sun visor and front grab handle are removed. Refer to → Body Interior; Rep. Gr.68; Equipment
- The A-pillar trim panel is removed and lower the headliner. Refer to → Body Interior; Rep. Gr.70; Passenger Compartment Trim; A-Pillar Trim Panel, Removing and Installing.
- Unclip the water drain hose on the A-pillar and disconnect it from the sunroof at the connection.
- Remove the grommet from the water drain hose at the bottom of the A-pillar and pull it downward betwen the instrument panel and the A-pillar.
2 - Sunroof
3 - Rear Water Drain Hose
- Removing
- The headliner is removed. Refer to → Body Interior; Rep. Gr.70; Roof Trim Panels; Headliner, Removing and Installing.
- The upper and lower D-pillar trim panel is removed. Refer to → Body Interior; Rep. Gr.70; Passenger Compartment Trim; D-Pillar Trim Panel, Removing and Installing.
- Remove the grab handle and lower the back of the headliner.
- Disconnect the water drain hose from the sunroof at the connection.
- Remove the grommet from tohe water drain hose on the wheel housing.
- Unclip the water drain hose from the D-pillar and pull it downward.
4 - Clip
5 - Clip
6 - Bracket
7 - Grommet
Special Tools
Special tools and workshop equipment required
- Roller -3356-

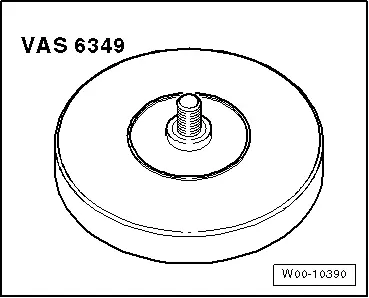
- Adhesive Strip Remover -VAS6349-
- Drain Snake -VAS6620-
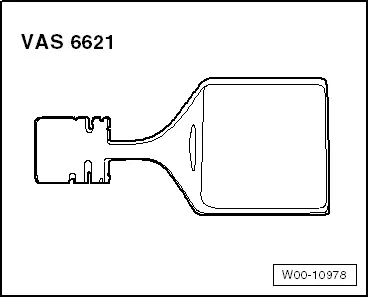
- Rail Cleaner - VAS6621-